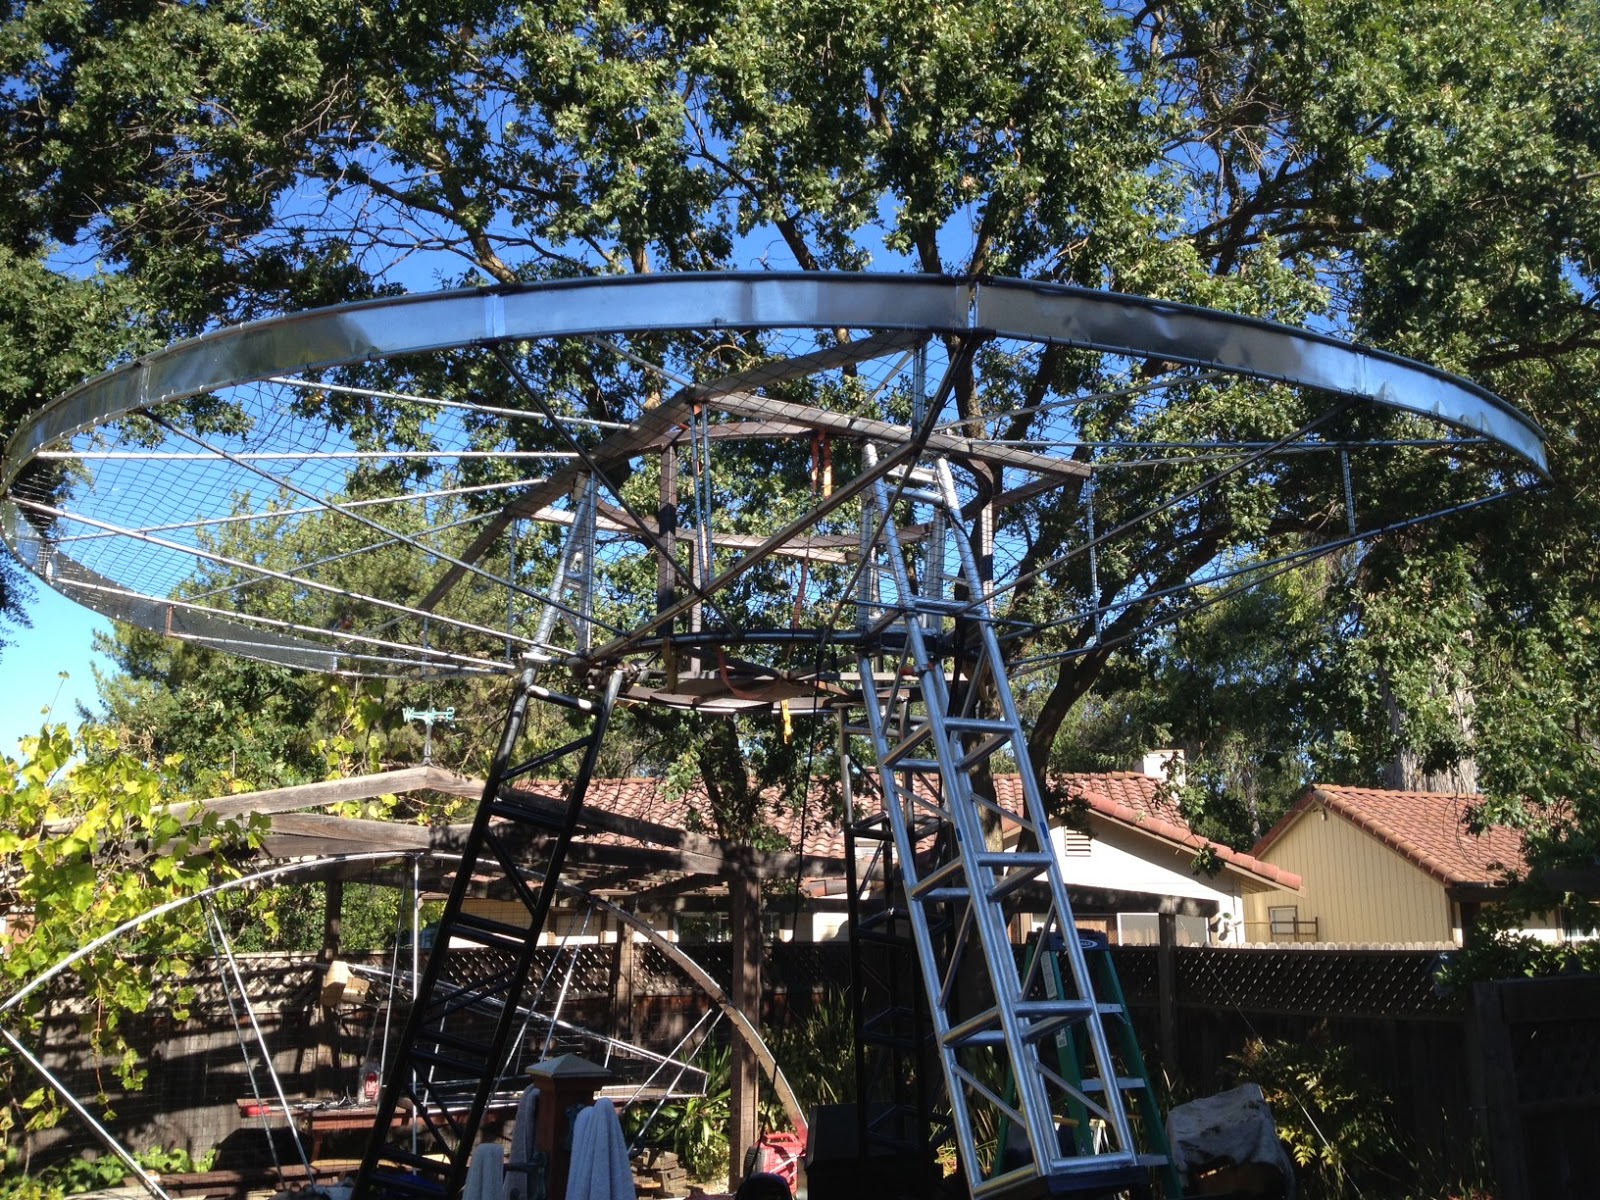
It's kind of hard to see what's going on in these pictures, because of the trees. But it's two of the four finished wings attached and getting their final adjustments to clear the legs. You might also notice that the legs are in the process of being painted black, along with everything else.
This is one of the two boxes mounted on the front wheels of the vehicle. These were made from off the shelf trailer tongue boxes. Because of the height requirements of the generator they had to be sliced in half horizontally, then inserts were welded in to make them taller. This one, with the open mesh, if for the generator. One the other side is another, without the open mesh, for storing random stuff. They can also be used as seats by passengers.
The electronics are moving in. Touch screen monitor mounted on the dash will control the lights. Stereo under the seat will provide the music when we're cruising the Playa solo.
My good friend Joel helped me out by welding all the new parts and angles at the top of each leg. These are the critical connection points for the structure.
It took me a long time to figure out this design and implement it. I needed three mounting points on the car for the rear leg. But I also wanted to be able to get at the engine if it needed maintenance. AND I didn't want the hood to look like Swiss cheese. The solution is that the triangle has three round mounting plates that bolt to the three round pods that are bolted to the car.


.jpeg)
.JPG)


.jpeg)
.jpeg)
.JPG)
.jpeg)
.jpeg)
.jpeg)
.jpeg)
.JPG)